Balcony Art Studio Makeover: A Small Space Solution
You might be surprised to learn that a small balcony can actually become the perfect art studio, with just a few tweaks. From storage solutions, thrifted finds, to DIY builds, I’ll show you all of my tips and tricks for turning this neglected space into one of your favorite spaces in your home. If you’re on a budget or live in a small space, then this is the perfect art studio solution for you.
5 low-budget ideas for your outdoor home art studio:
Clean your balcony space
Start with a vision
Thrift, Repurpose, and DIY
Add some personality with curated artwork
Set up lighting for your studio
Now, Let’s dive into each of them in more detail.
Step 1: Clean your balcony space
Before you begin, it’s important to make sure your space is clean and clutter-free. Remove any outdoor furniture and thoroughly clean the floor, walls, glass, windows and door. You want to start with a clean slate so you can transform the space into something functional.


Step 2: Start with a vision for your studio setup
Think about who you are as an artist and the type of environment that inspires you the most.
Here is a checklist on how to approach a re-decorating plan:
Hop on Pinterest for some inspiration. Anyone else have a Pinterest addiction?
Sketch out a floor plan on where you want larger furniture items to go
Think about lighting. Good lighting is vital when creating art
Organize the furniture and items you already own
Create a wishlist of things that you need to purchase to make your dream space come to life. This will come in handy during Step 3.
Label your floor plan so you have a high level idea on where your items should live


Step 3: Thrift, Repurpose, and DIY— A conscious way to decorate your home art studio
If you’re on a budget, there are several ways you can cut corners to get a bang for your buck. And if you’re like me, then you probably find it oddly satisfying when spotting a treasure at the thrift store, refurbishing items, or getting a bargain on a social marketplace. Buying used is a great way to elevate any space while minimizing your environmental footprint.
Remember to use your wishlist so you stay on track and only buy what you need.
Here are some ways you can practice a conscious way to decorate your art studio:
Go to your local thrift store. Support your local community by buying used items at the thrift store. Some of my favorite finds include glass jars, storage bins, candle stands, art frames and vases, which I use to decorate my studio space.
Refurbish items. Do you have old furniture lying around? Perhaps you came across old items that need a facelift? A true artist knows to look at items for their potential. I came across a free mid-century style table in someone’s yard and managed to snag it. There were several scuffs, a very bad paint job, and uneven legs which made it unappealing to most passerbys. I sanded down the piece, stripped the paint and adjusted the legs and it’s a piece I now cherish everyday. If you’re interested to watch the entire DIY process of this table, you can watch it here.
When in doubt, do it yourself. Pinterest is an awesome community that can get your creative juices to flow. Seek inspiration from other creators and add your own spin on things. The great thing about DIY projects is you can customize it so it fits into your overall aesthetic and personality.


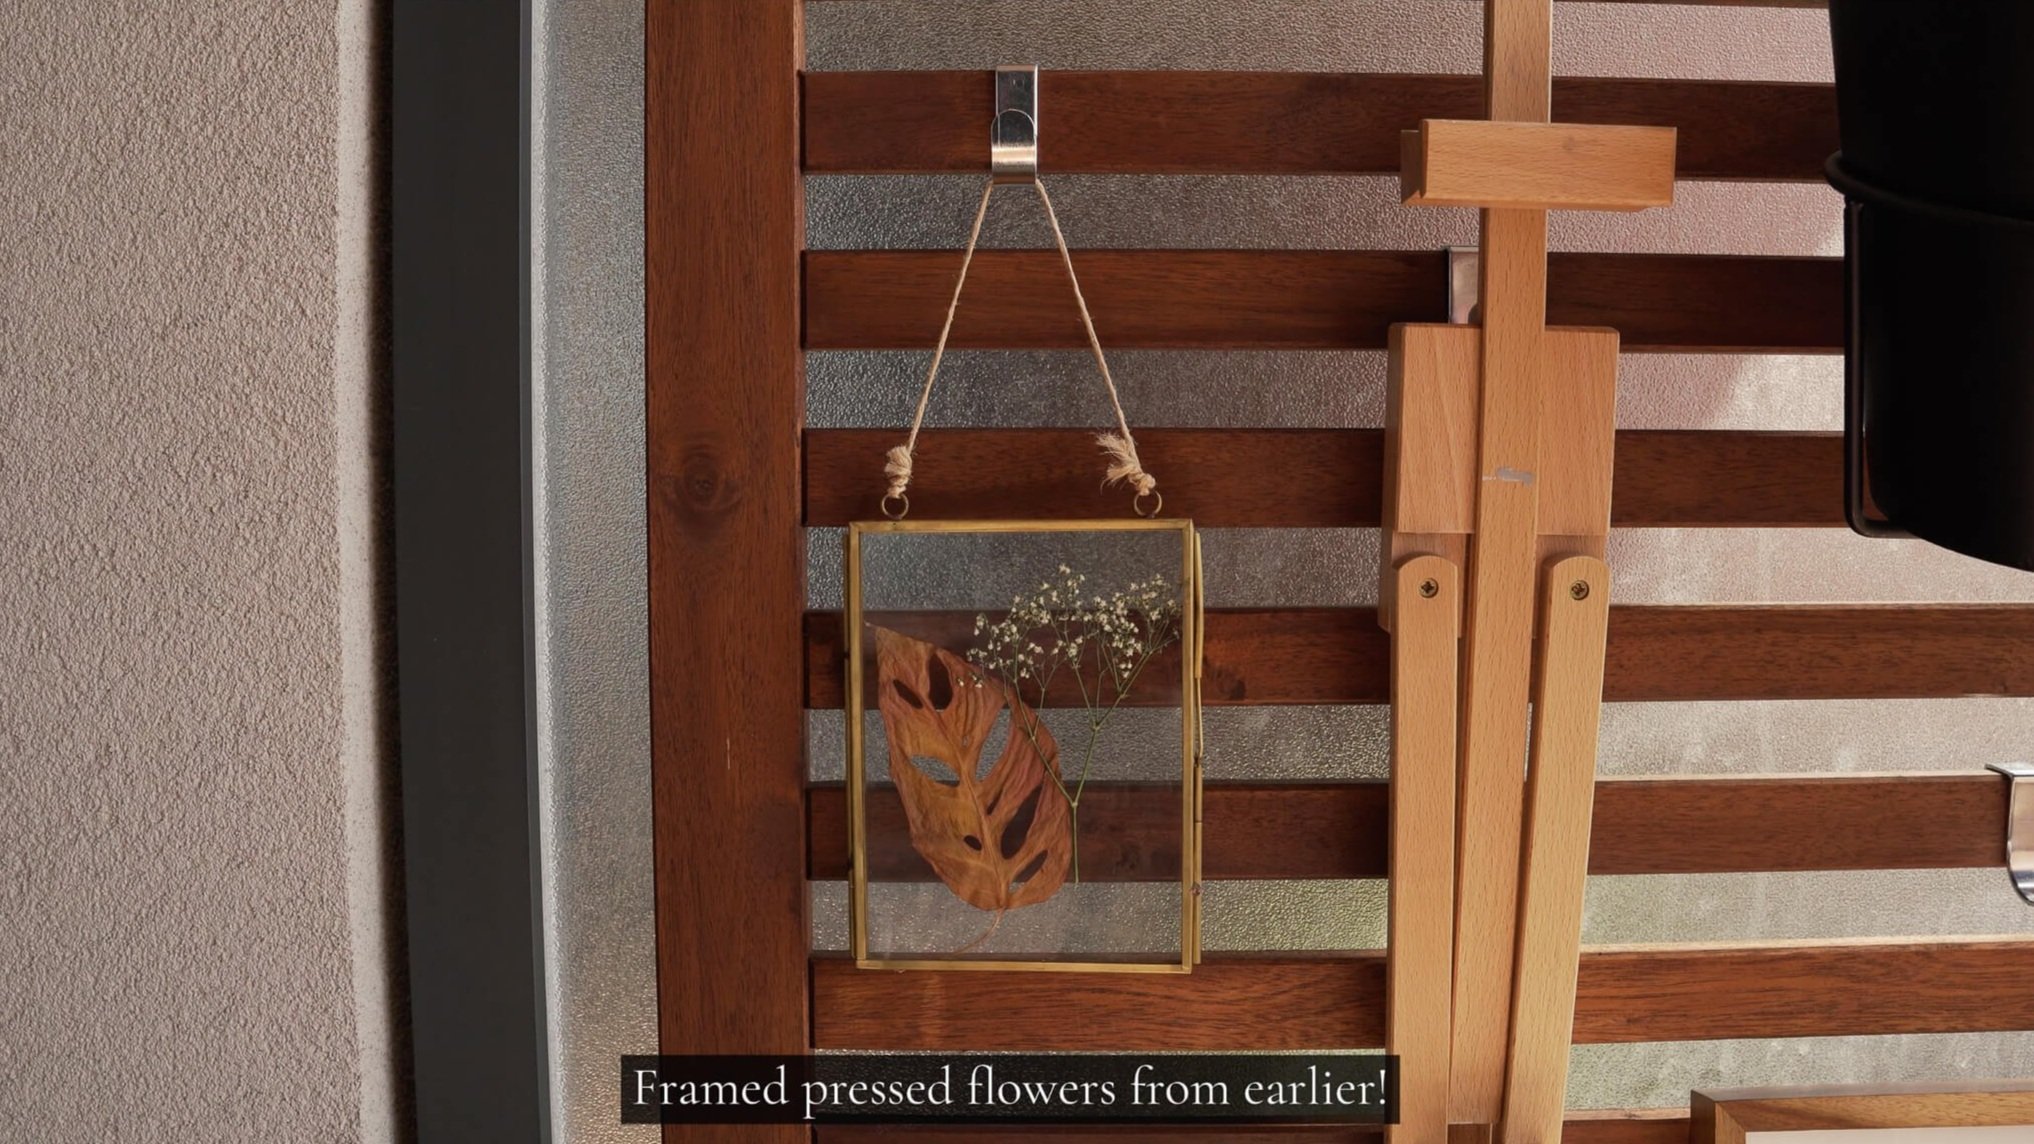
Step 4: Add some personality with curated artwork
What better way to decorate an art studio than hanging your art collection for display?
I’m not an interior designer, but what I do know is that art pieces can transform any space. Your studio wall is your chance to hang art and other objects that mean something to you. I also see wall art as a physical reminder that this is my designated creative space— a space for experimentation.
And remember, you don’t need an extensive art collection to get started. Think of it like an ever-changing art installation. I like to swap my art in and out to reflect my creative moods. It can range anywhere between an unfinished piece, sketches, to finished artwork.


Step 5: Set up lighting for your studio
If you want to use your balcony as an art studio, you’ll need to think about optimal lighting for your space. Daylight is often the best lighting when working on art but having another light source ensures your art studio is as functional as it can be.
Apart from functionality, lighting can also make a space cozier.
There are a few ways to add optimal lighting, depending on your budget and how much light you get throughout the day:
You can purchase artificial light sources that let you control the hue and color of the light. I recommend something like the Phillips hue collection. I use this throughout my home because it allows me to customize the colors depending on the time of day.
Add string lights to make the space cozier. String lights are an easy way to create a cozy mood without taking up valuable real estate on your balcony.
Lighting doesn’t have to be boring. Lamp shades can be a statement in itself. I made these DIY lamp shades inspired by Pinterest. I’m working on a new blogpost that will break down the process step by step.


Now you’re ready to transform your outdoor space into a beautiful, functional art studio
Now that you have your furniture, thrifted treasures and art pieces, it’s time to organize your space and bring your vision to life. When your space starts to take it’s shape, you might get even more ideas for your home art studio.
If you’re interested to see the full transformation of my balcony space, check out my video. I document the entire process from start to finish.
When you’re done transforming your space or you already have an art studio, please share them with me on Instagram! I love finding inspiration from other artist’s studios.

